
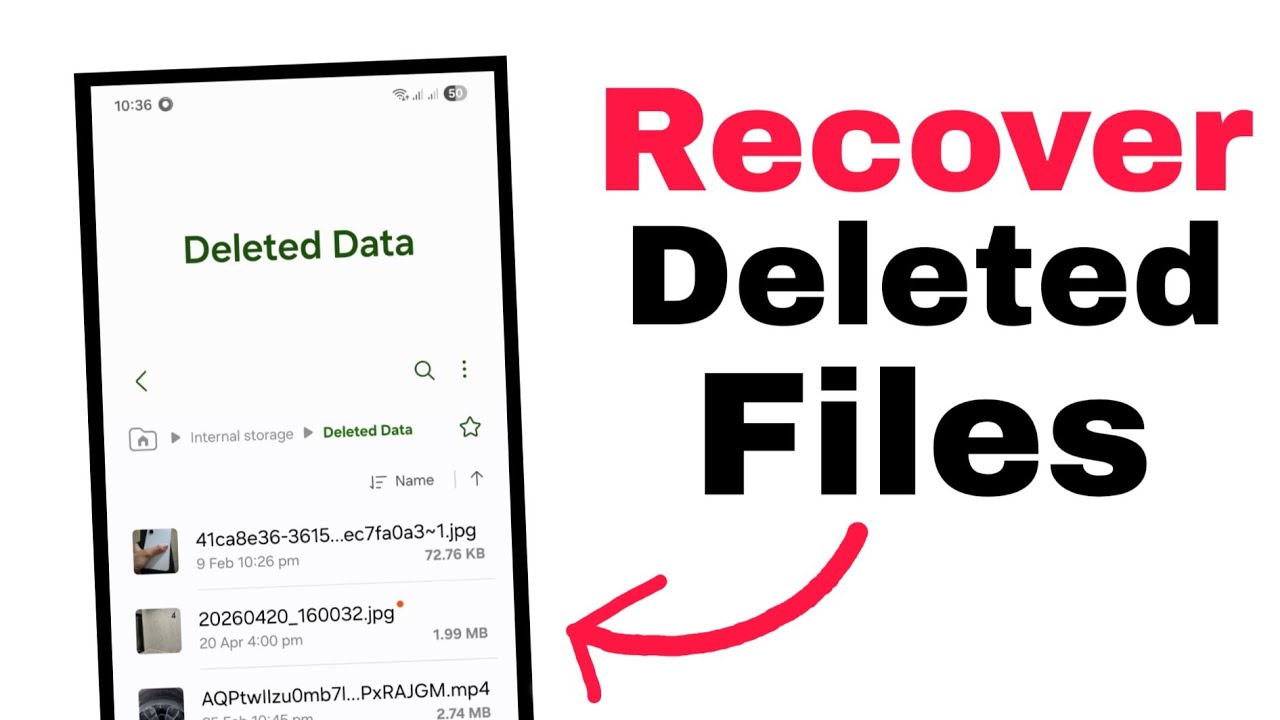
Losing an important file on Android a photo, a document, a WhatsApp video can feel instantly overwhelming, especially if it wasn’t backed up anywhere. The good news is that recovering deleted files on Android is far more achievable than most people realize. When you delete a file on Android, it isn’t actually erased from the device’s flash memory right away the system simply marks that storage space as “empty” and available for new data. That means the file technically still exists until something new overwrites that space, which is exactly why quick action matters.
This guide walks through every practical method for recovering deleted files on Android in 2026 from built-in recycle bins and cloud backups to dedicated recovery apps and more advanced internal storage recovery so you can figure out exactly which approach fits your situation.
Before You Do Anything: The Golden Rule
Before trying any recovery method, there’s one rule that matters more than any specific step: stop using your device immediately. Every new photo you take, app you install, or file you download risks overwriting the storage space where your deleted file still technically exists. If possible, put your phone into airplane mode to prevent background processes like WhatsApp downloading new media or emails syncing from writing new data in the background.
This single habit dramatically increases your odds of successful recovery, regardless of which method you use afterward.
Step 1: Check Built-In Recycle Bins First
This is the easiest, fastest, and most commonly successful method and it’s worth checking before anything else. Most modern Android gallery apps and file managers now include a “Trash” or “Recycle Bin” folder that temporarily holds deleted files before they’re permanently removed. Depending on the app, this window typically ranges from 15 to 60 days:
- Google Photos keeps deleted photos and videos in its Bin for 60 days, since it backs them up to Google’s cloud servers before permanent deletion.
- Files by Google holds deleted items in its Trash folder for 30 days.
- Samsung Gallery retains deleted media for 30 days in its own Recycle Bin.
- OneDrive stores deleted items for up to 30 days if you were syncing files through it.
How to check:
- Open Google Photos, Samsung Gallery, or your file manager app.
- Look for a menu option labeled “Trash,” “Bin,” or “Recently Deleted” (usually accessible from the hamburger menu or bottom navigation bar).
- Browse the folder for your missing file.
- Select it and tap “Restore” to move it back to its original location.
If your file shows up here, you’re done no further steps needed.
Step 2: Restore From Cloud and Local Backups
If the recycle bin doesn’t have your file (either because it was permanently deleted or the retention window has passed), the next step is checking whether an automatic backup captured it before deletion.
Google Drive Backup
If you had automatic backup enabled through your Android device, your files may be recoverable via Google Drive though in many cases this requires performing a factory reset and restoring from backup during device setup, since Android ties full system restores to the initial setup flow.
Manufacturer-Specific Backups
Many Android manufacturers offer their own backup systems. Samsung users, for example, can use Samsung Smart Switch to restore data from a local or cloud backup made before the file was deleted.
Steps for Samsung Smart Switch:
- Open Smart Switch on your Samsung device.
- Select “Restore” from the menu.
- Choose the relevant backup file (organized by date).
- Select the specific data type (photos, documents, etc.) you want to restore.
- Tap “Restore” and wait for the process to complete.
Third-Party Cloud Apps
If you were using OneDrive, Dropbox, or a similar cloud storage app, check their individual Trash or deleted-items folder within the app itself these often have their own separate recovery windows, distinct from Android’s built-in trash.
Step 3: Recover WhatsApp Media Through Backup
If the deleted files were media you sent or received through WhatsApp, there’s a dedicated recovery path — though it only works if you have a recent WhatsApp backup already in place.
Steps to recover via WhatsApp Backup:
- Go to Settings > Apps > WhatsApp and tap Uninstall (or long-press the WhatsApp icon and select Uninstall).
- Reinstall WhatsApp from the Google Play Store.
- Follow the initial setup process. When prompted, tap Restore to bring back your chat history.
- Once your chat history is restored, you’ll also be prompted to restore your media files (photos, videos, and audio). Tap Restore again to begin this process.
- Wait for the restoration to finish — timing depends on the size of your backup and your internet connection speed.
Keep in mind this method only recovers media that was actually backed up through WhatsApp’s own backup system, and only covers WhatsApp content specifically not other app data or general device files.
Step 4: Recover Deleted App Data
If what you lost was app-specific data (game progress, notes, settings) rather than a media file, there’s a slightly different approach.
Steps to recover deleted app data:
- Go to Settings > Backup & Reset and confirm that Automatic Restore is enabled.
- Open the Google Play Store and search for the specific app.
- Tap Install to begin (or reinstall) the app.
- When prompted to restore backup data, select Yes.
This method relies on the app itself having stored a backup through Google’s backup service, so results vary depending on how that specific app handles backups.
Step 5: Use a Dedicated Data Recovery App (No Computer Needed)
If your file wasn’t backed up anywhere and isn’t sitting in a recycle bin, dedicated Android data recovery apps are the next best option. These tools scan your device’s storage directly, looking for recoverable file fragments that haven’t yet been overwritten.
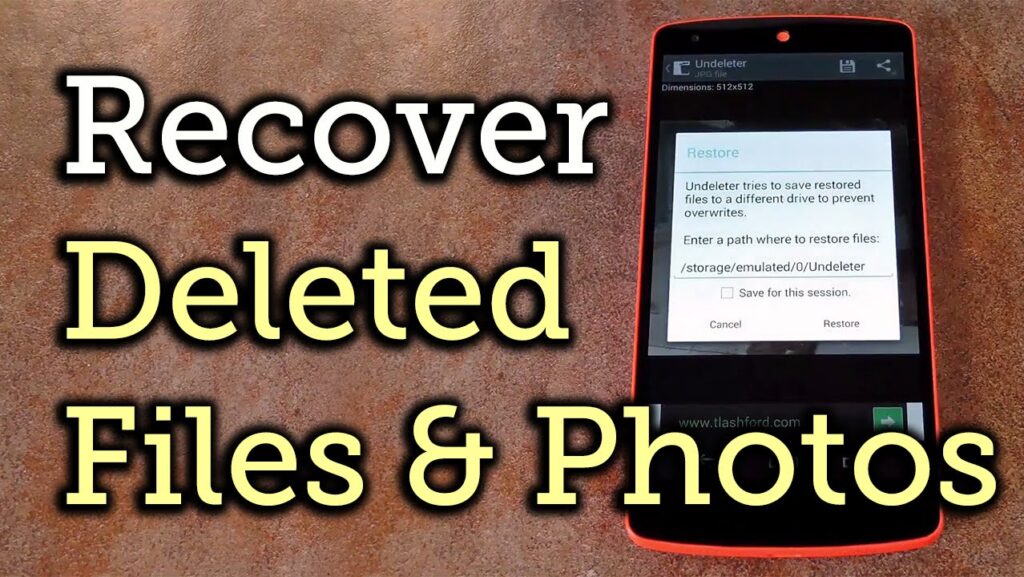
Apps like UltData – Android Data Recovery are specifically designed to work directly on the device, without requiring root access or a computer connection a significant advantage over older recovery tools that demanded more technical setup. Similarly, tools like Dr.Fone – Data Recovery (Android) are built to be user-friendly, working across many different Android device models with a relatively high success rate for recovering photos, messages, and other lost files.
General steps when using this type of app:
- Download and install the recovery app from the Google Play Store or the developer’s official site.
- Grant the necessary storage permissions when prompted.
- Select the file type you’re trying to recover (photos, documents, videos, etc.).
- Start the scan and allow it to complete fully this can take several minutes depending on your storage size.
- Preview the recoverable files found.
- Select the ones you want and tap Recover.
Step 6: Recover Files From an SD Card Using a Computer
If your deleted files were stored on an SD card used as standalone external storage (not merged as extended internal storage), recovery is often more successful and can be done using recovery software on a computer.
Steps using Disk Drill (Windows or macOS):
- Remove the SD card from your Android device and insert it into a card reader connected to your computer.
- Download and install Disk Drill from its official site.
- Open Disk Drill and select your SD card from the Device/Disk list.
- Click Search for Lost Data and let the scan run to completion.
- Once finished, click Review found items.
- Use the category filters (Pictures, Video, Documents, etc.) to narrow down results.
- Hover over a file and click the eye icon to preview its contents before recovering it.
- Place a checkmark next to the files you want to restore.
- Click Recover and choose a save location ideally not the same SD card, to avoid overwriting other recoverable data.
Step 7: Recover Files From Internal Storage (Advanced)
Recovering deleted files directly from Android’s internal memory is more technically demanding than SD card recovery, since internal storage isn’t as easily connected to a computer as an external card. That said, it is achievable using specialized memory recovery software designed specifically for this purpose.
The safest approach for most users is a desktop recovery tool that creates a read-only scan of the phone’s internal memory, allowing you to selectively extract messages, photos, and files without needing advanced technical skills or root access. This read-only approach matters because it avoids writing any new data to the device during the recovery process, which as covered earlier is the single biggest risk to successful recovery.
For users comfortable with more manual, technical methods, it’s also possible to create a full image of the device’s internal memory and scan that image separately using recovery software though this route typically requires root access and a stronger understanding of Android’s file system.
Quick Comparison: Recovery Methods at a Glance
Method |
Best For |
Requires |
Success Likelihood |
|---|---|---|---|
Built-in Trash/Recycle Bin |
Recently deleted photos/files |
Nothing extra |
Very high (if within retention window) |
Google Drive backup |
Full device restore |
Prior backup enabled |
High (if backup exists) |
Samsung Smart Switch |
Samsung device restores |
Prior local/cloud backup |
High |
WhatsApp Backup restore |
Deleted WhatsApp media |
Recent WhatsApp backup |
High |
App data restore |
Deleted app-specific data |
Automatic Restore enabled |
Moderate |
On-device recovery apps (UltData, Dr.Fone) |
General deleted files, no computer |
App install, storage permissions |
Moderate to high |
Disk Drill (SD card) |
SD card file recovery |
Computer + card reader |
High (if not overwritten) |
Internal storage recovery |
Deep, no-backup recovery |
Specialized software, sometimes root |
Moderate, more technical |
How to Prevent This From Happening Again
Once you’ve recovered what you can, it’s worth setting up habits that make future data loss far less stressful:
- Enable automatic backup for Google Photos, Google Drive, and any manufacturer-specific backup tool (like Samsung Smart Switch).
- Turn on WhatsApp’s automatic chat backup so media and messages are regularly saved to the cloud.
- Avoid relying on a single storage location pairing local storage with a cloud backup gives you a safety net if one fails.
- Check your recycle bin settings some apps let you extend or shorten the retention period for deleted items.
- Don’t ignore low-storage warnings, since Android may be more aggressive about clearing cached or “deleted” data when storage runs low.
Conclusion
Losing files on Android feels alarming in the moment, but in most cases, the data isn’t actually gone — it’s simply marked as deleted while it technically remains recoverable until something else overwrites it. The key to successful recovery is speed and order: stop using your device immediately, check built-in recycle bins first since they’re the fastest and most reliable option, then move on to cloud and local backups, WhatsApp-specific recovery, and dedicated recovery apps if needed. SD card and internal storage recovery remain viable options even when nothing else works, though they require a bit more technical effort.
Just as important as recovering what’s already lost is setting up better habits going forward. Enabling automatic backups across your photos, app data, and messaging apps turns “recovering deleted files” from a stressful emergency into, at most, a quick restore from backup. Data loss on Android is common, but with the right approach and quick action it’s rarely permanent.
FAQs
1. Can deleted files really be recovered on Android, or are they gone forever? In most cases, they can be recovered — at least for a period of time. When a file is deleted, Android marks that storage space as available rather than immediately erasing the data, meaning the original content often still exists until new data overwrites it.
2. How long do deleted files stay recoverable on Android? It depends on the app. Google Photos retains deleted photos and videos for 60 days, while Files by Google and Samsung Gallery typically hold deleted items for 30 days before permanent removal.
3. Do I need root access to recover deleted files on Android? Not usually. Most on-device recovery apps and built-in recycle bins work without root access. Root access is generally only needed for more advanced internal storage recovery methods involving a full memory image scan.
4. What should I do immediately after realizing I deleted an important file? Stop using your device right away, and consider putting it in airplane mode to prevent background processes like app updates or automatic downloads from overwriting the storage space where your file might still exist.
5. Can I recover deleted WhatsApp photos and videos? Yes, if you have a recent WhatsApp backup. Uninstalling and reinstalling WhatsApp, then selecting “Restore” during setup, can bring back both chat history and media that was included in that backup.
6. Is it possible to recover files from an SD card after formatting it? Often, yes, especially if the SD card wasn’t used as extended internal storage. Tools like Disk Drill can scan the card directly when connected to a computer via a card reader, recovering files that haven’t been overwritten yet.
7. What’s the difference between recovering files from an SD card versus internal storage? SD card recovery is generally easier because the card can be removed and scanned directly on a computer. Internal storage recovery is more technically demanding since it often requires specialized software and, in some cases, root access to properly scan the device’s memory.
8. Are third-party data recovery apps safe to use on Android? Reputable, well-reviewed apps like UltData or Dr.Fone are generally considered safe, especially ones that use read-only scanning methods that don’t write new data to your device during the recovery process. As always, download recovery apps only from official sources like the Google Play Store or the developer’s verified website.
9. Can I prevent future data loss on Android? Yes. Enabling automatic backups for Google Photos, Google Drive, WhatsApp, and any manufacturer-specific backup tool significantly reduces the risk of permanent data loss, since a recent backup means recovery becomes a simple restore rather than an emergency scan.
10. What if none of these recovery methods work? If built-in trash folders, backups, and recovery apps all come up empty, the file may have already been overwritten by new data. At that point, more advanced professional data recovery services may be able to help, though success isn’t guaranteed once the original storage space has been overwritten.
